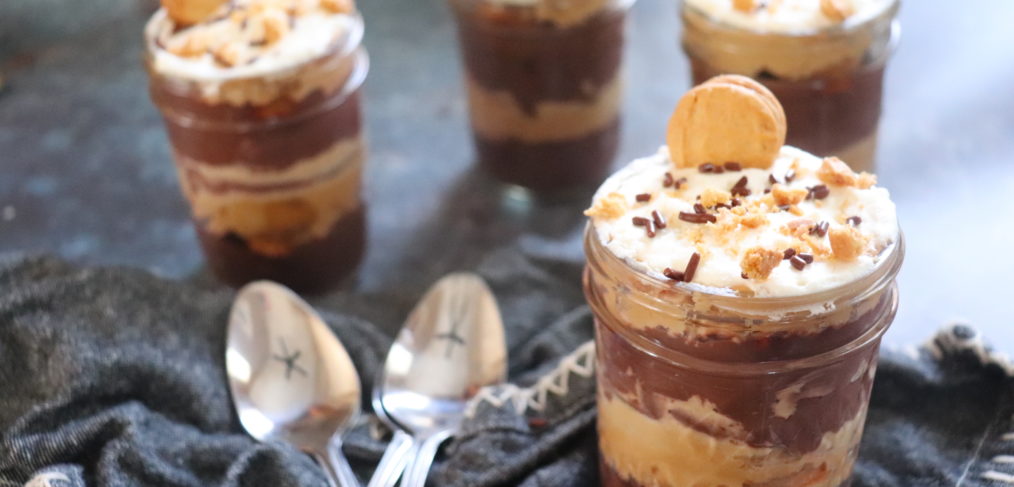
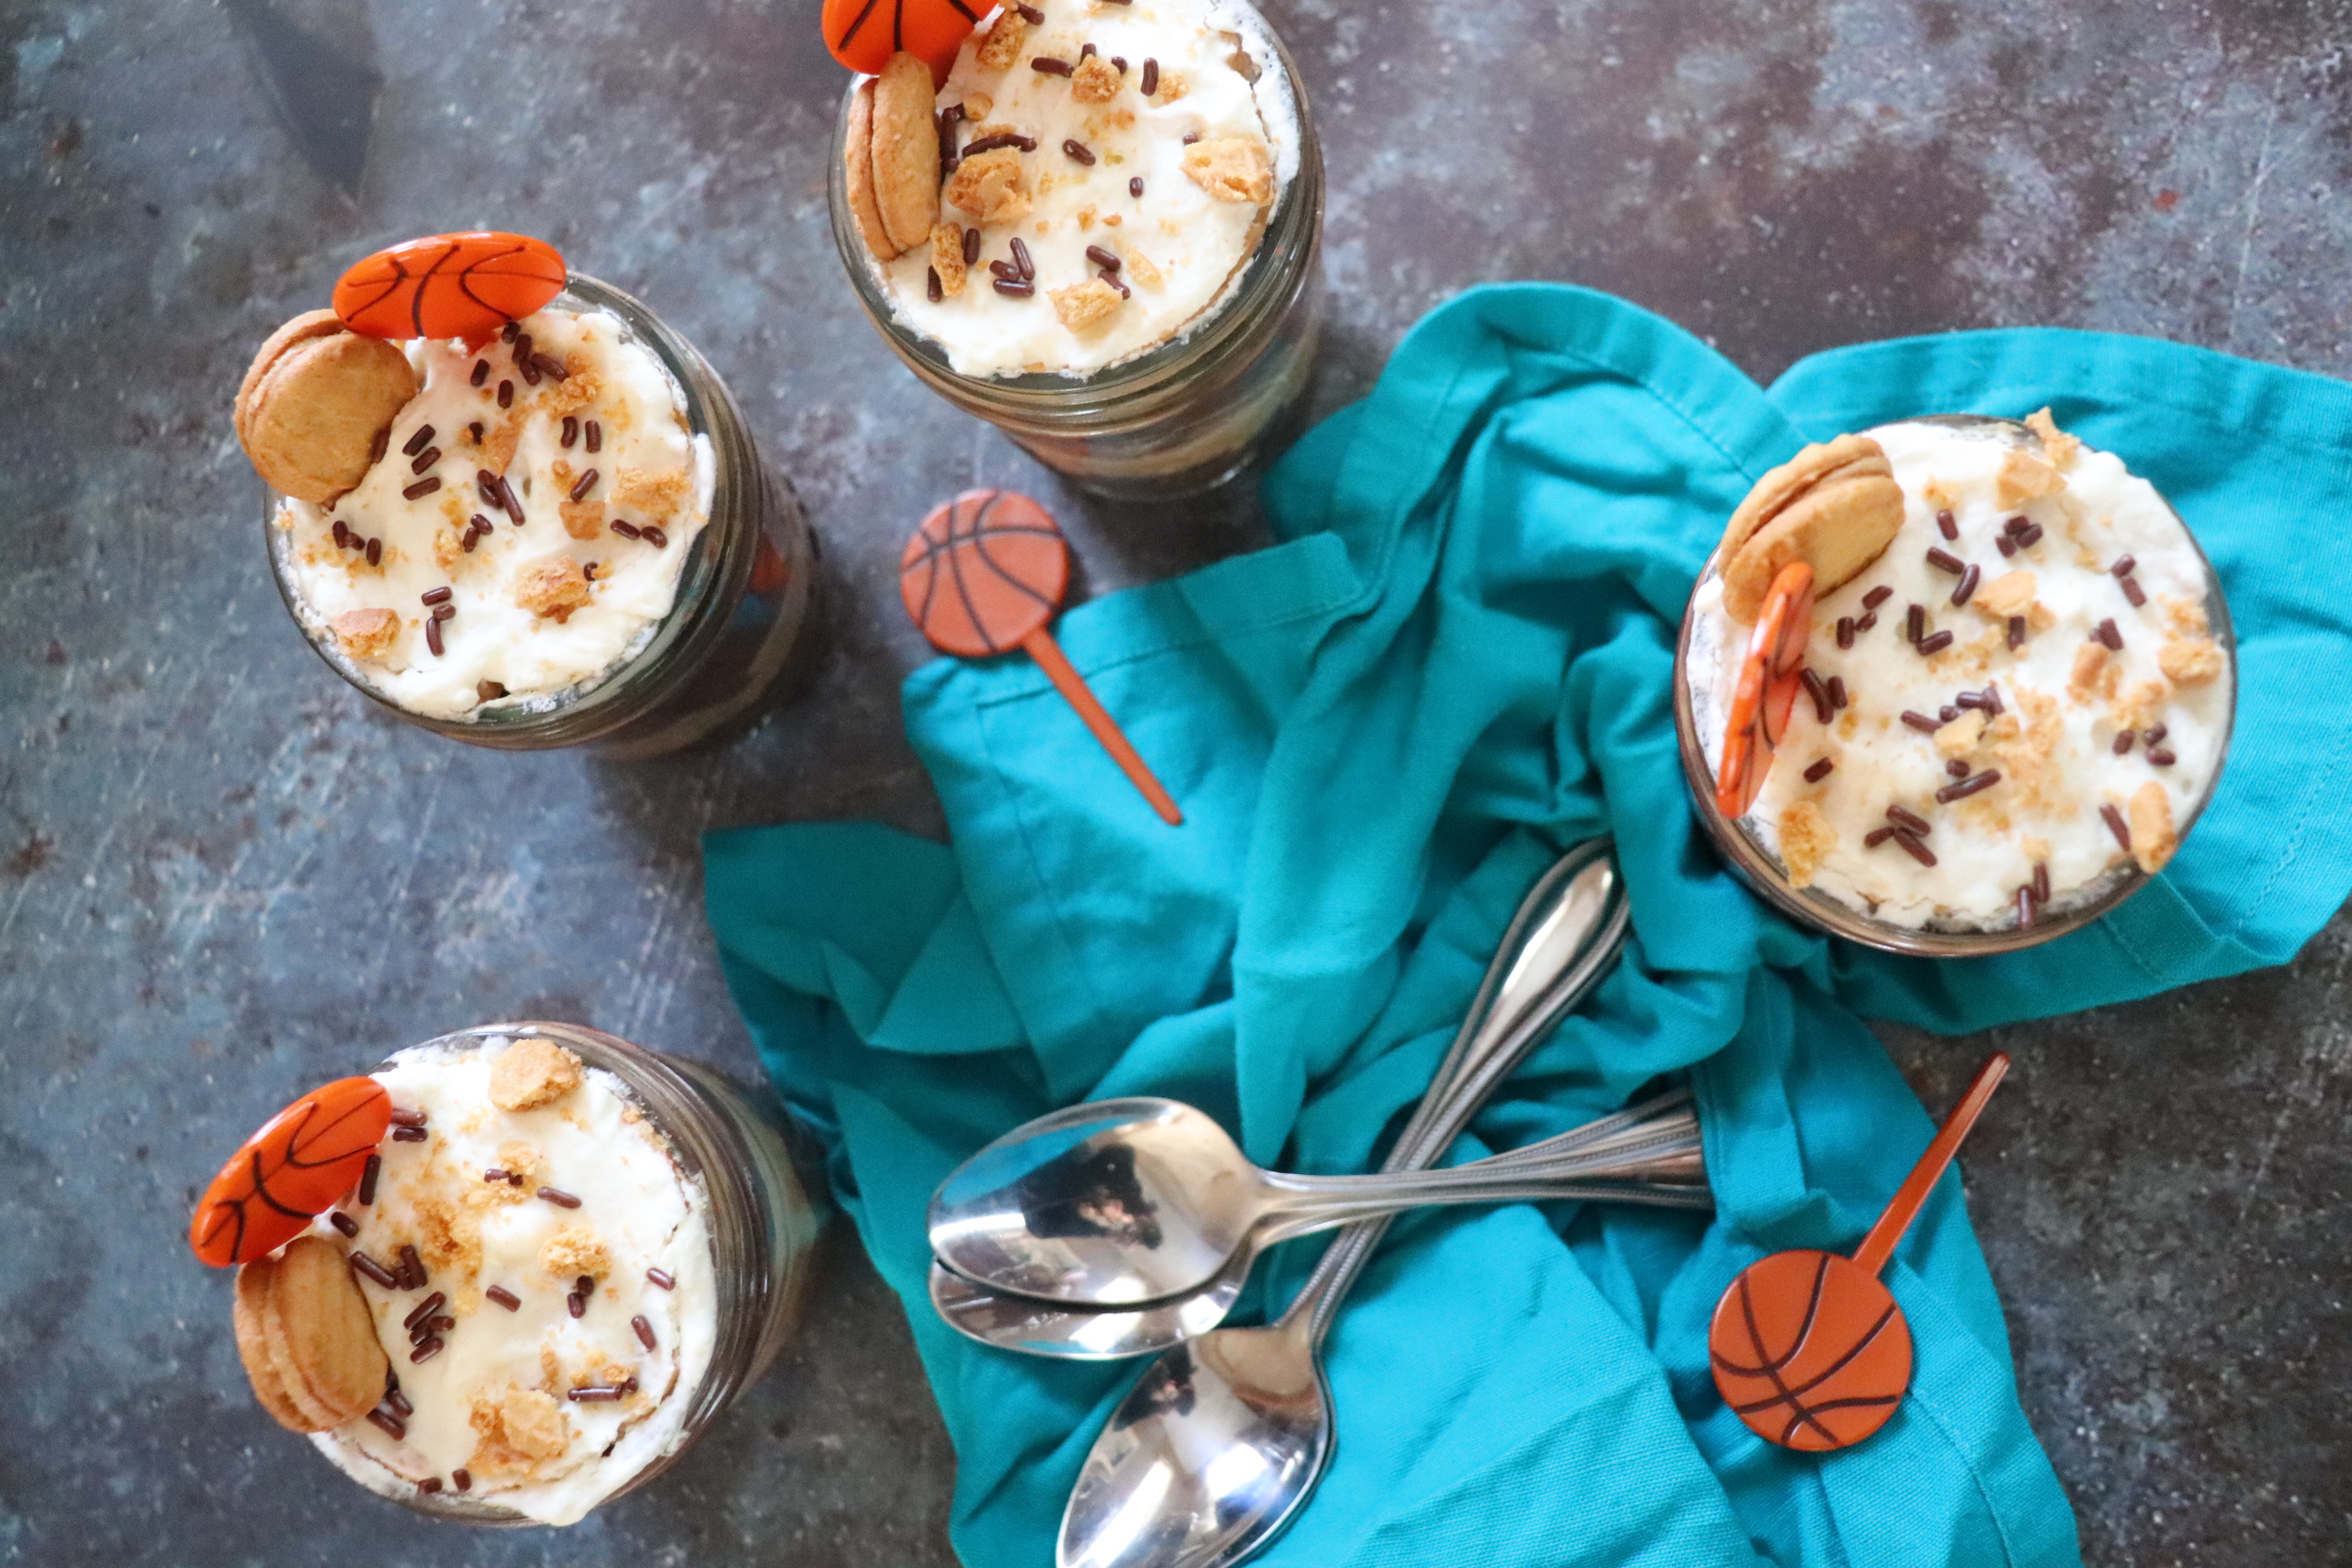
Remember those Snack Pack pudding cups? As a kid, if your lunch box didn’t contain one of those layered desserts, you were definitely not cool. I’m taking the Snack Pack to the next level here, adding in peanut butter pie filling and Nutter Butter cookies, but keeping the tasty chocolate pudding and the nostalgia. I like to make these parfaits in mini Mason jars with lids, so they are portable as well. Then pack them up for a picnic on the go, or top the jars with a themed plastic party pick. I whipped this last batch up for March Madness (the only sporting event I really care about) after I discovered the basketball toppers on Amazon. Be sure to make extras – these treats will get gobbled up fast by the chocolate peanut butter lover in your life!
Chocolate Nutter Butter Pudding Cups
Yield: 6 – 6 oz. jars
Ingredients
3 cups milk
1 tsp. espresso powder
5 oz box Chocolate Pudding, Cook and Serve style
8 oz Nutter Butter Bites
1 1/2 c. heavy whipping cream
1 cup peanut butter, creamy
4 oz cream cheese, softened
1/4 c. powdered sugar, plus two tablespoons
Chocolate sprinkles and crushed Nutter Butters, for garnish
Cook the pudding with the 3 cups milk and espresso powder according to package directions. Set aside to let cool, placing plastic wrap against surface of pudding to prevent skin from forming. Let cool completely.
While the pudding is cooling, make the whipped cream. Beat the cream with an electric mixer until stiff peaks form. Sprinkle in the 2 tablespoons of powdered sugar and mix well. Reserve 3/4 cup of the whipped cream for garnish. Place the remaining whipped cream in a large bowl and set aside.
Next, make the peanut butter layer. Beat together the peanut butter, cream cheese, and powdered sugar until well incorporated and thick. Slowly fold in the reserved larger portion of whipped cream to the peanut butter mixture.
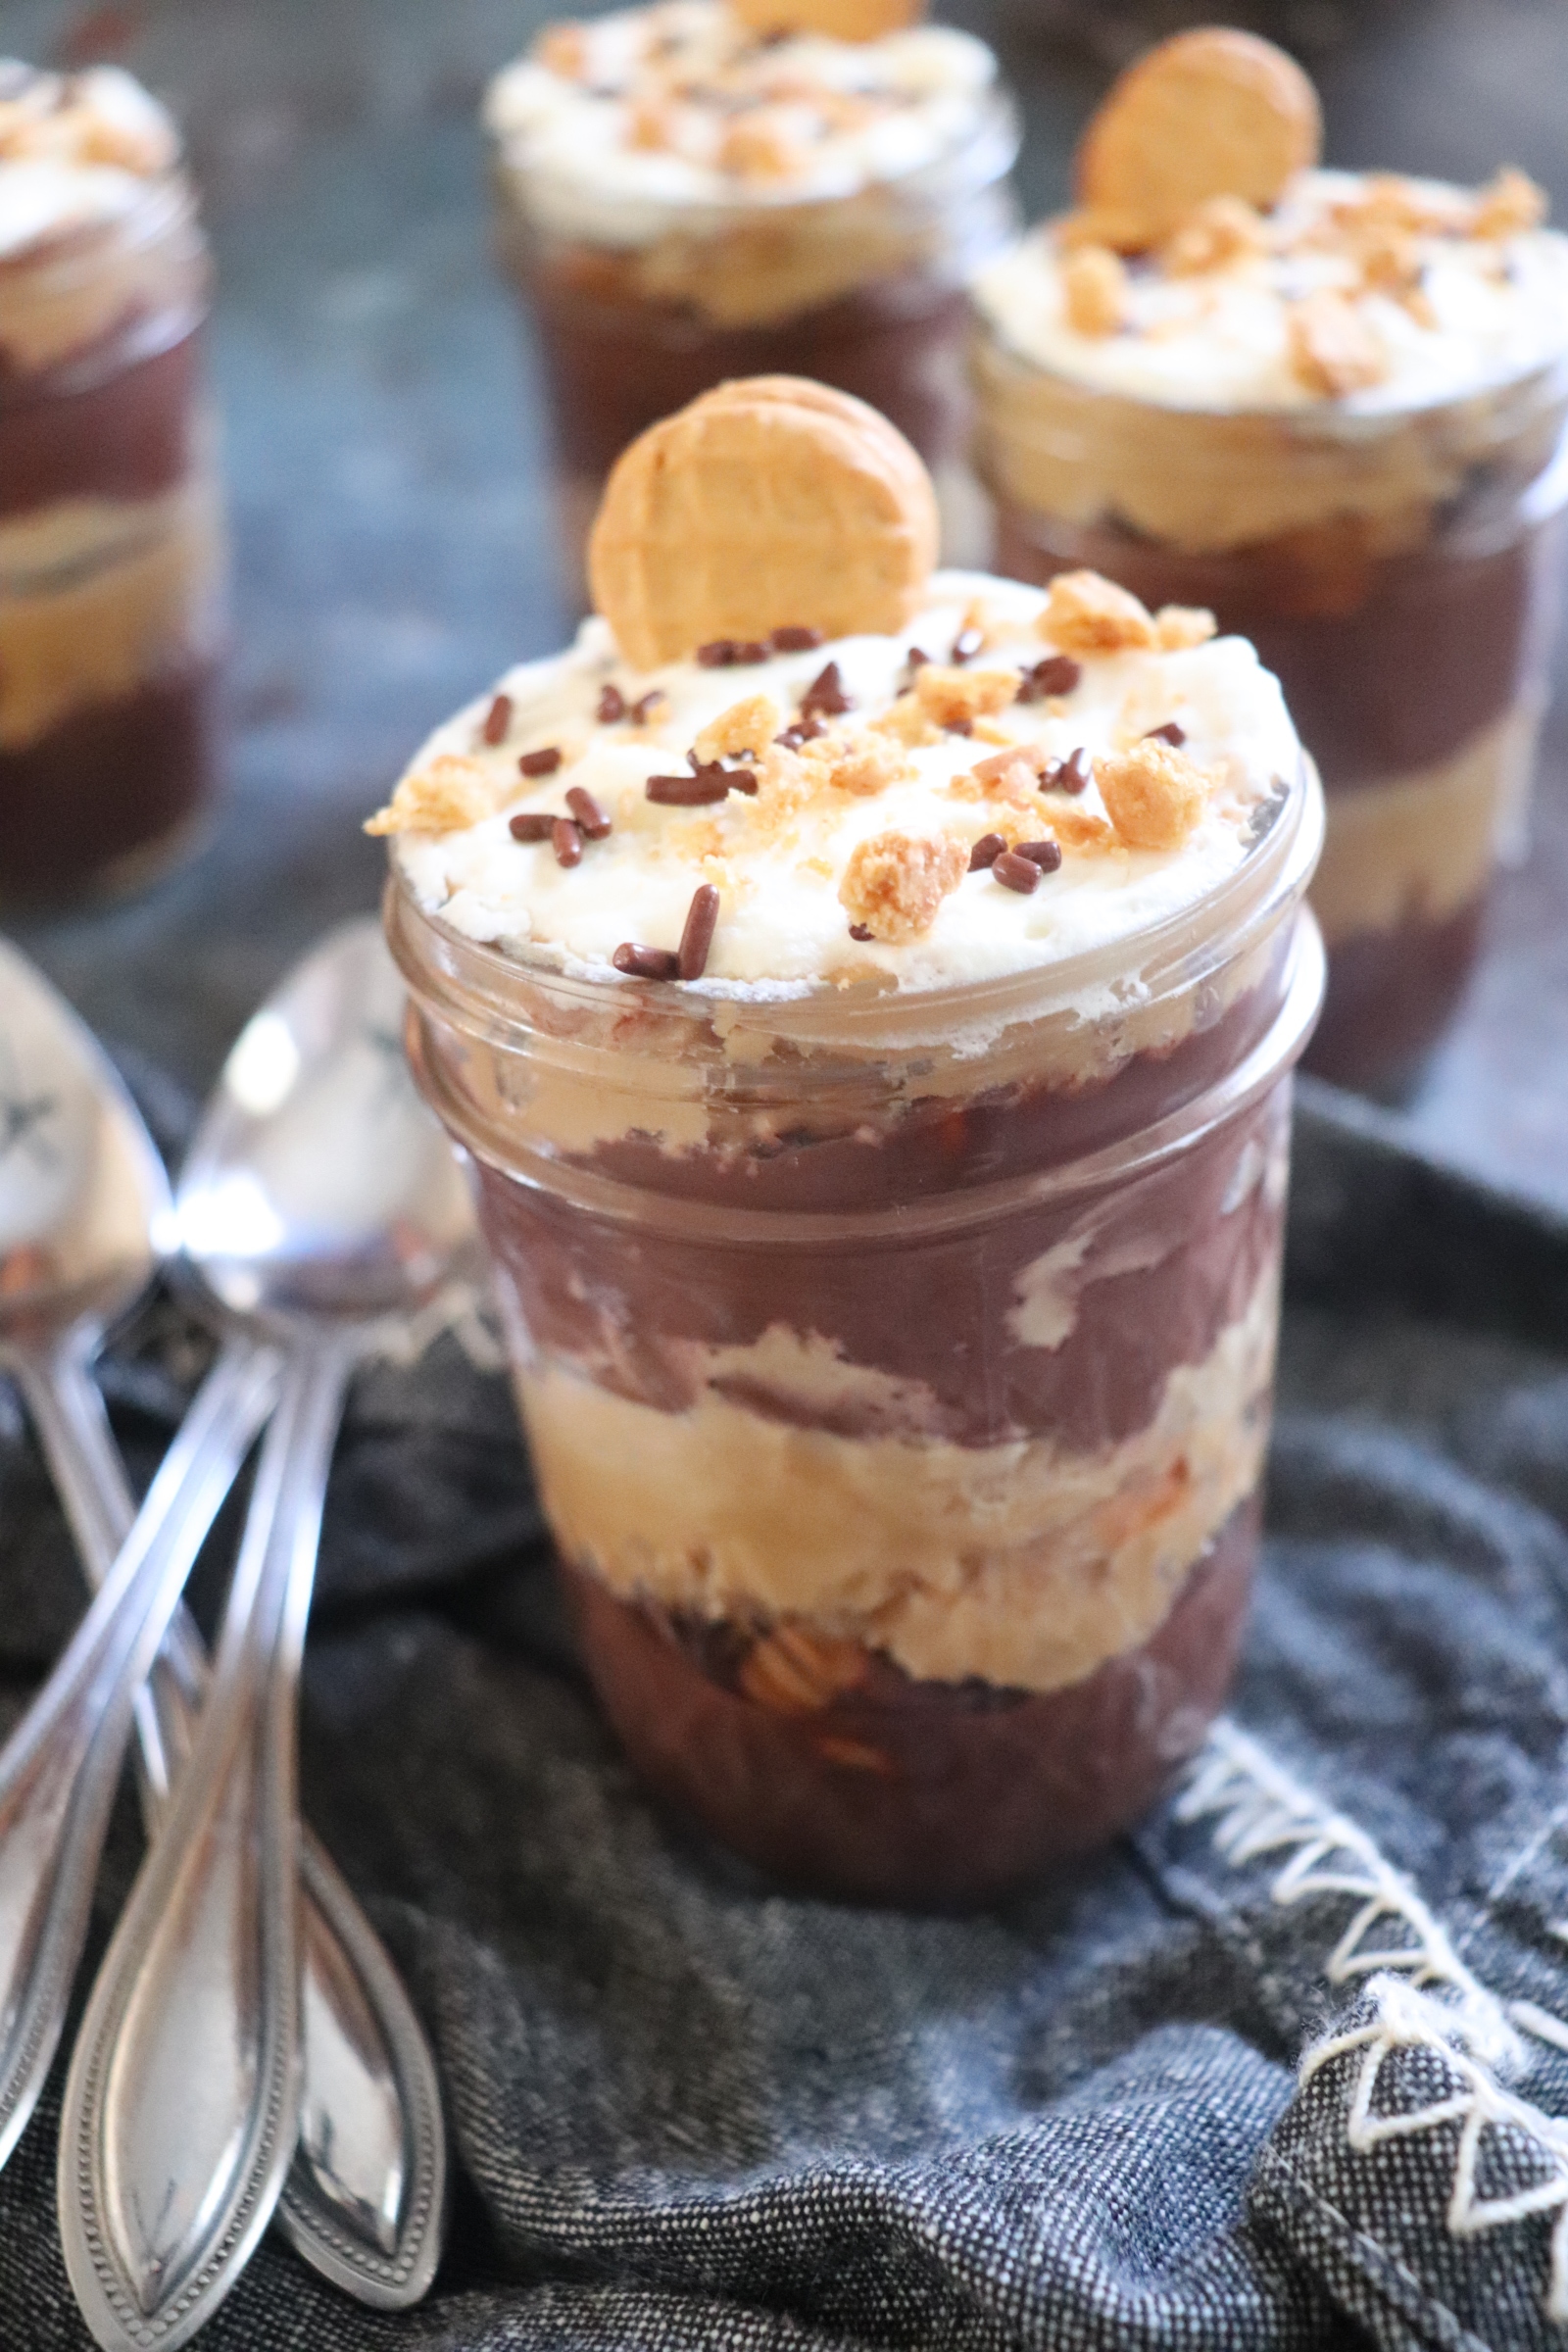
Assembly time: Once the pudding is no longer warm, divide the pudding in two equal portions, setting one half aside. With the remaining half, fill the bottom of each of the six mini Mason jars equally with pudding. Press 4 Nutter Butter bites into the top of the pudding layer. Next divide the peanut butter mixture in two. Layer in one of the peanut butter mixture halves over the pudding layer. Repeat, forming another layer of pudding, Nutter Butter bites, and peanut butter mixture.
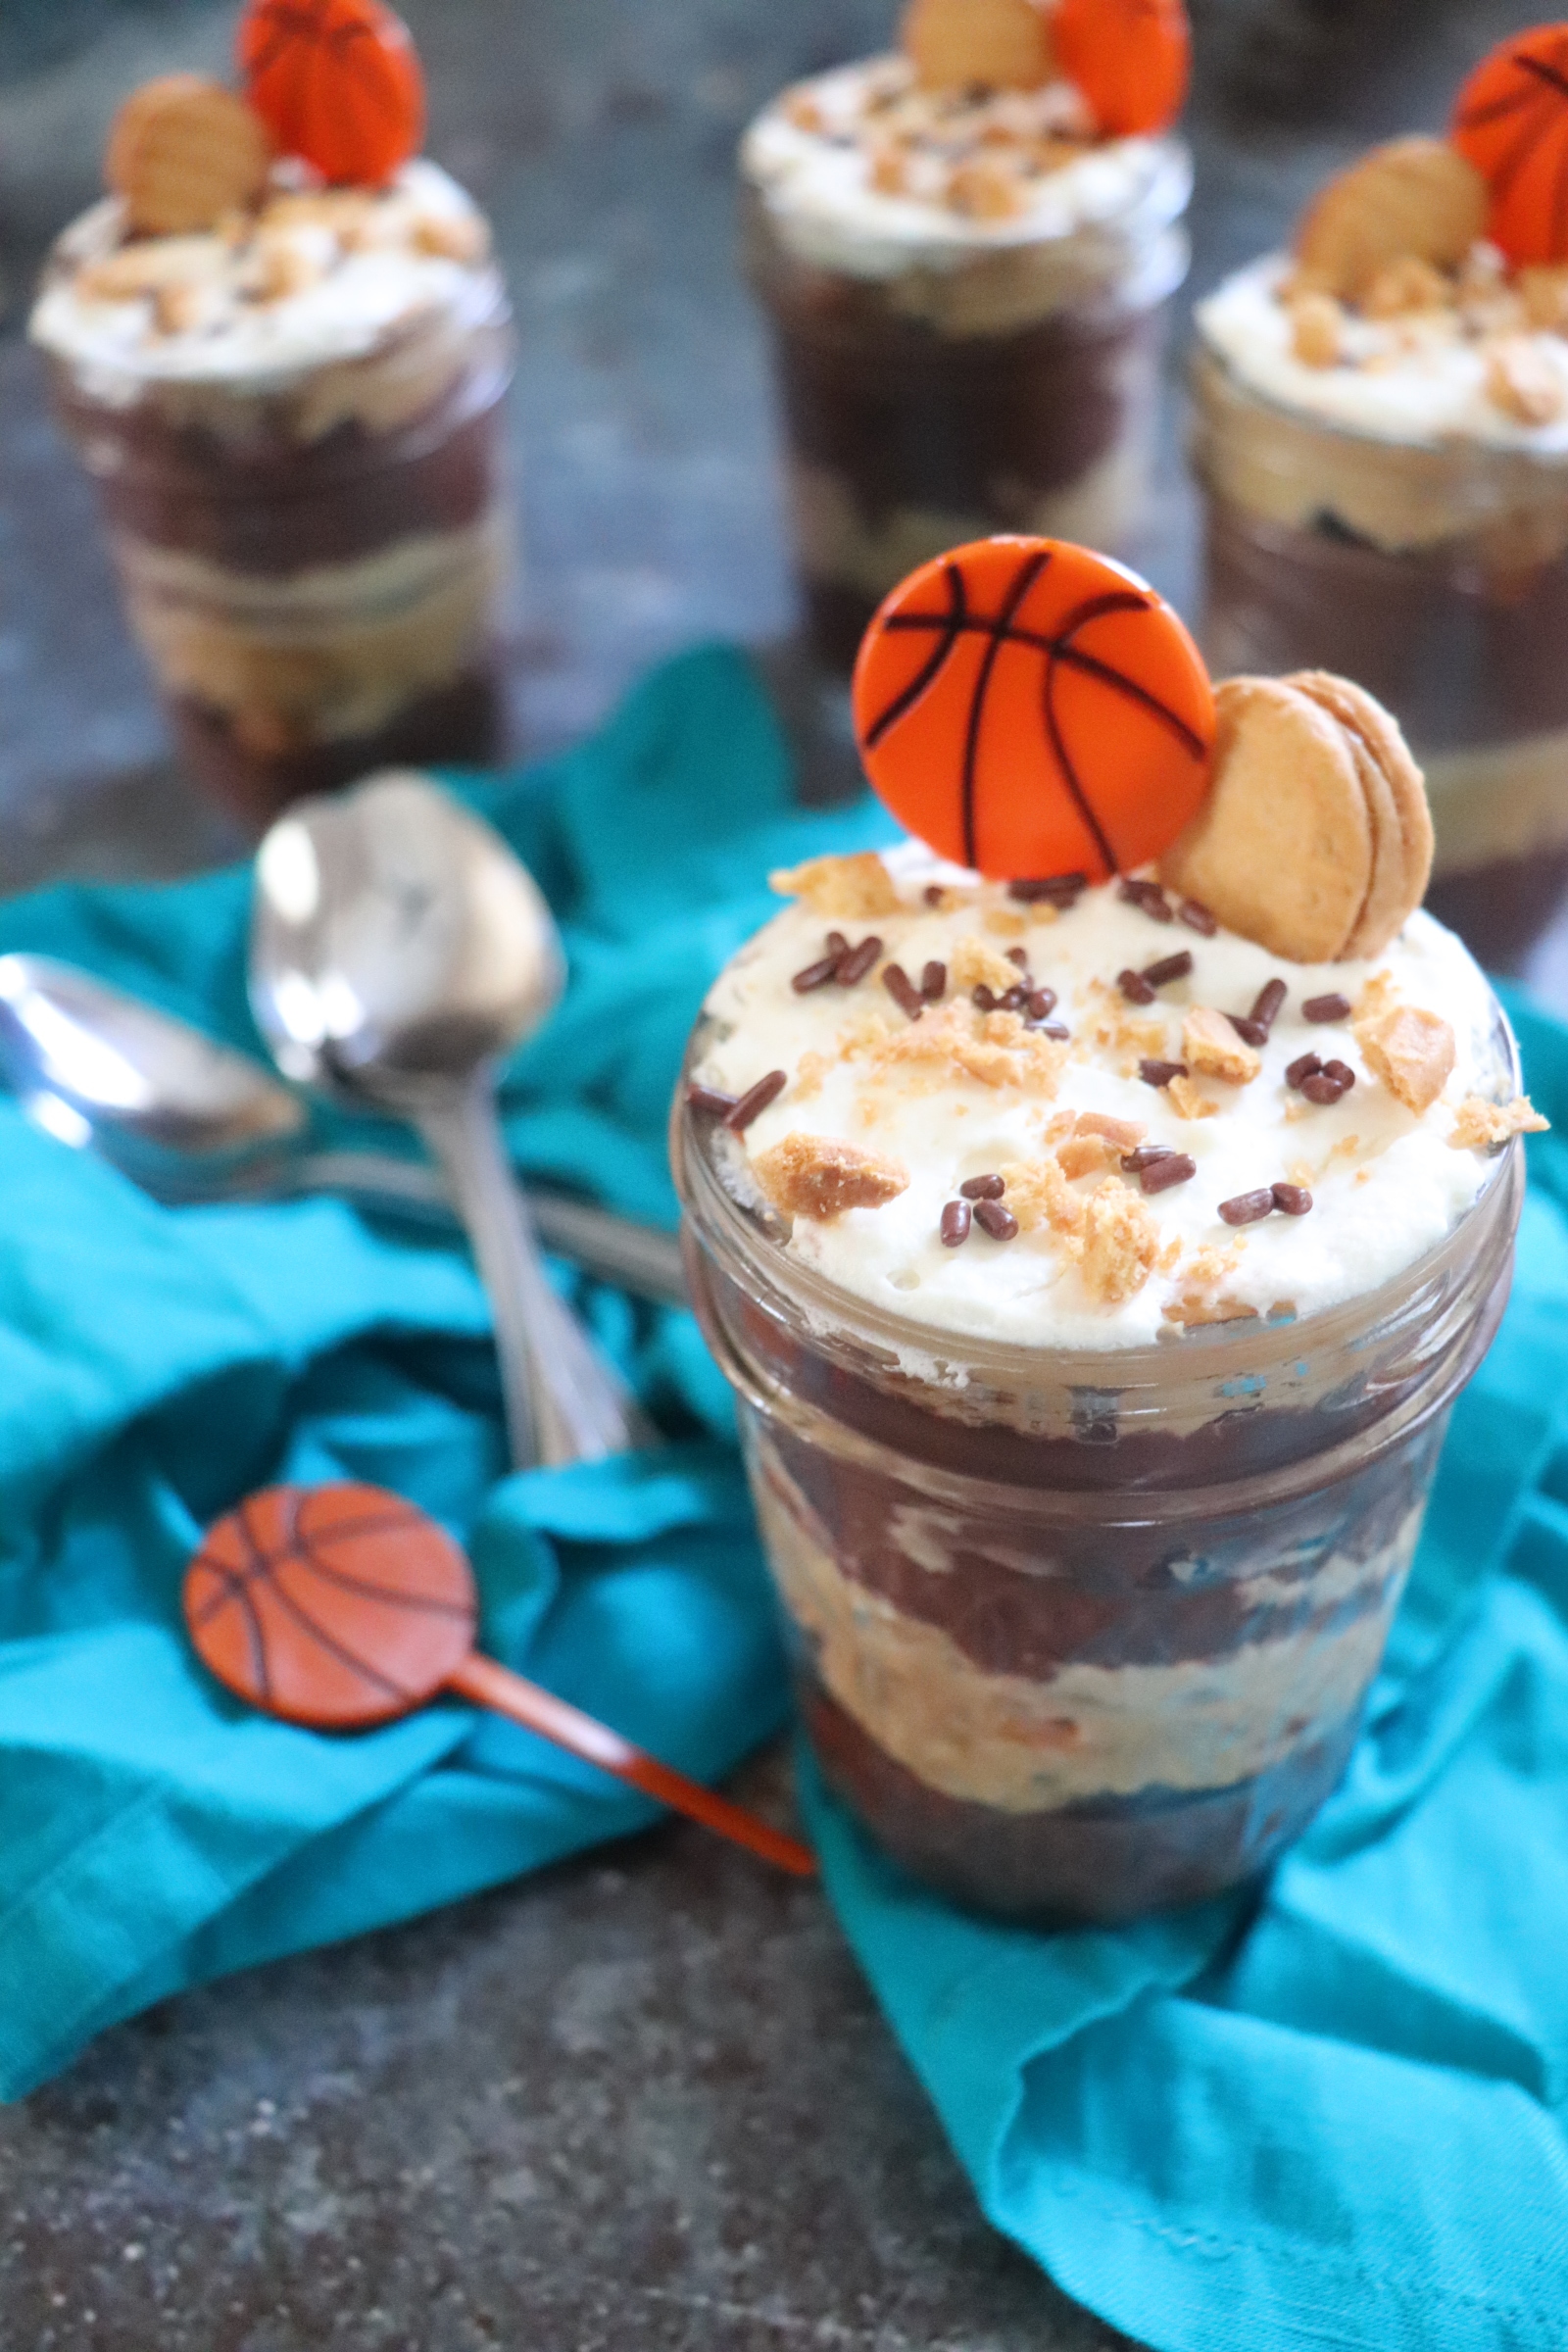
To garnish, use the remaining whipped cream to frost a thin layer on top the pudding cups. Top the whipped cream with chocolate sprinkles and crushed Nutter Butters bites, or party picks of your choice.
Spin on the lids, pile the puddings in your bag, and get to snacking! Let me know what your favorite Snack Pack flavor is by shooting me a message on Instagram here. I definitely want to recreate more varieties!
Keep Connected,
Caroline
Looking for more dessert recipes? Try a few of my favorites:
1. Top Secret Chocolate Chip Cookies
2. Sugar Cookie Peach Cobbler
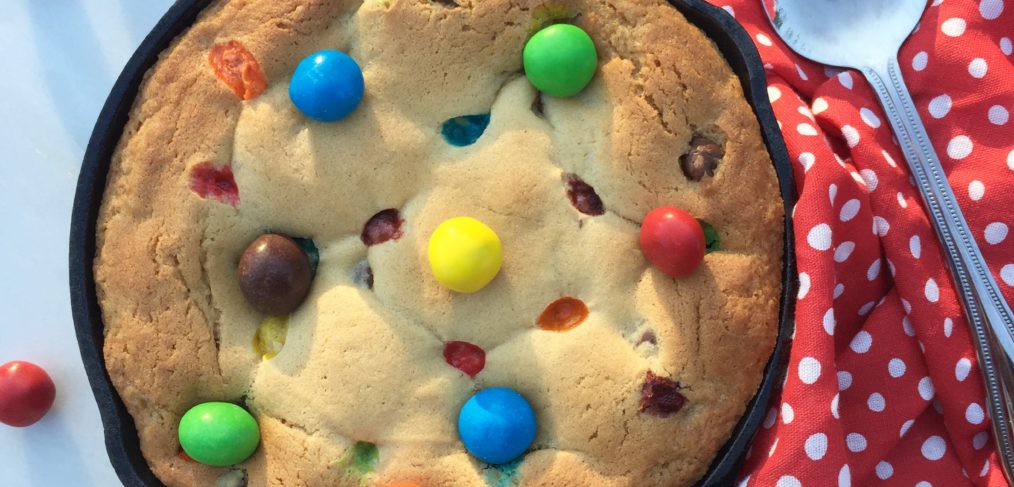
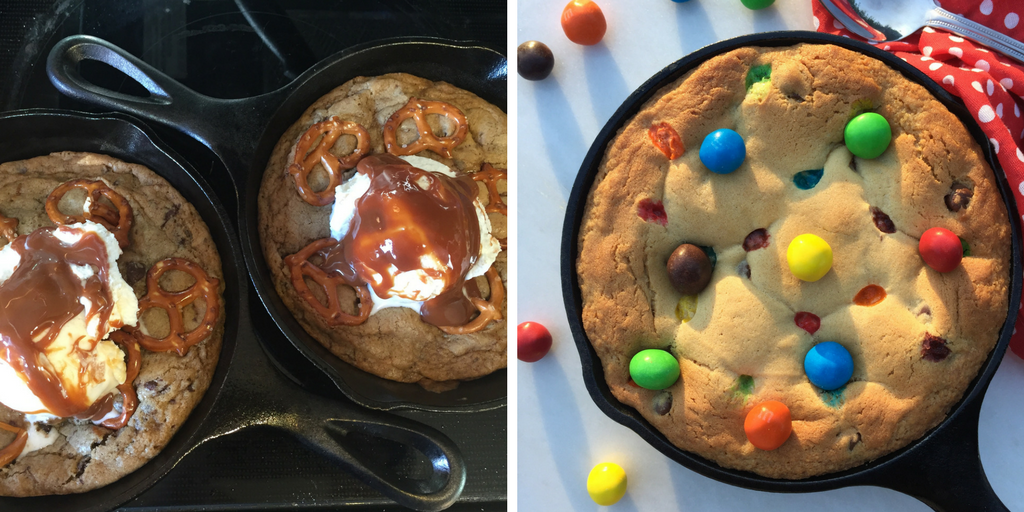
3. Sweet and Salty Cookie Skillets
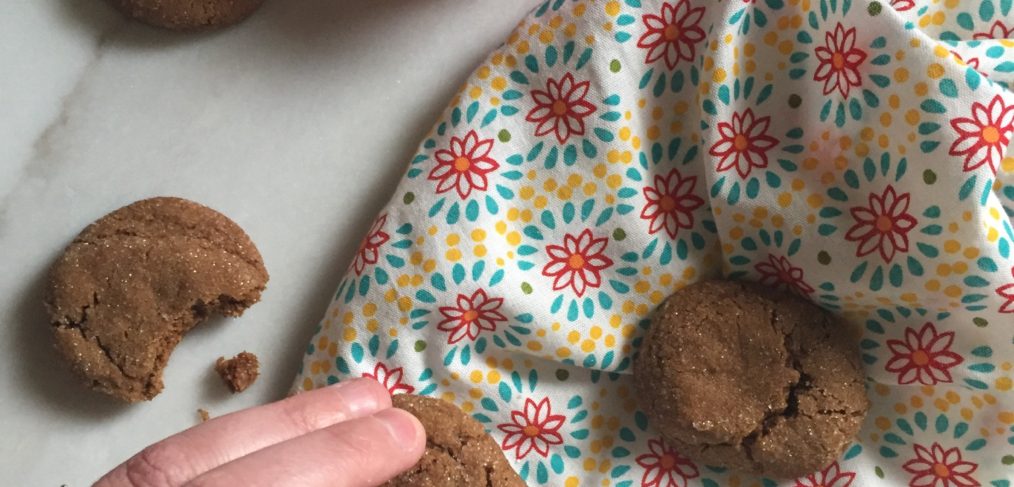
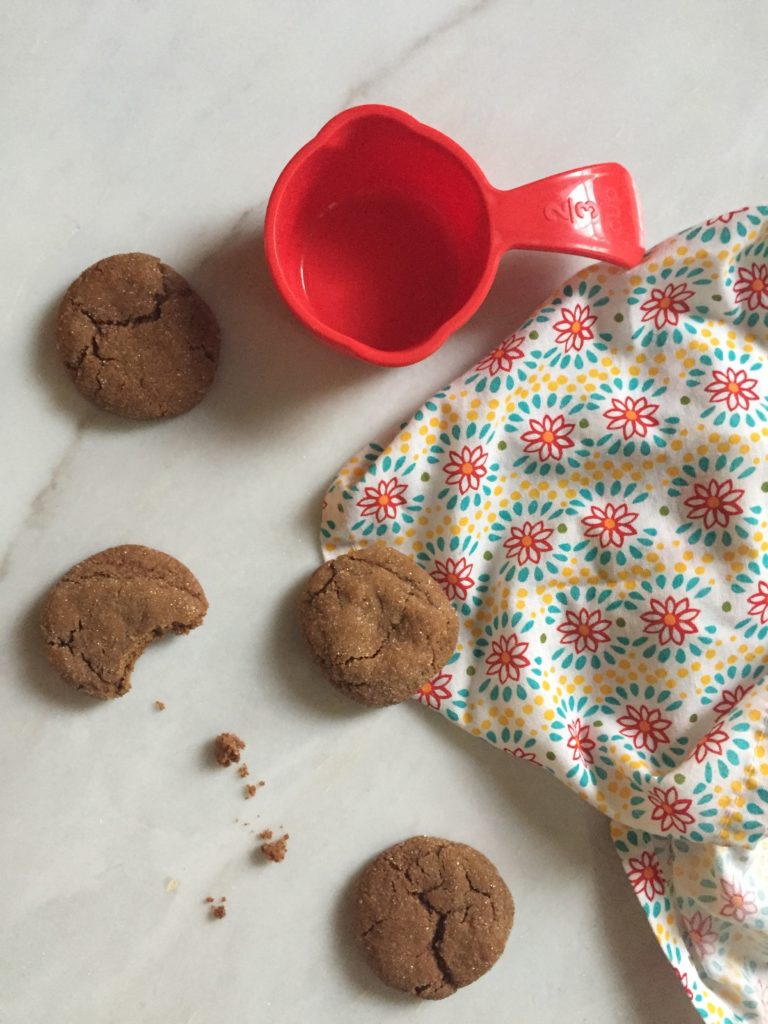
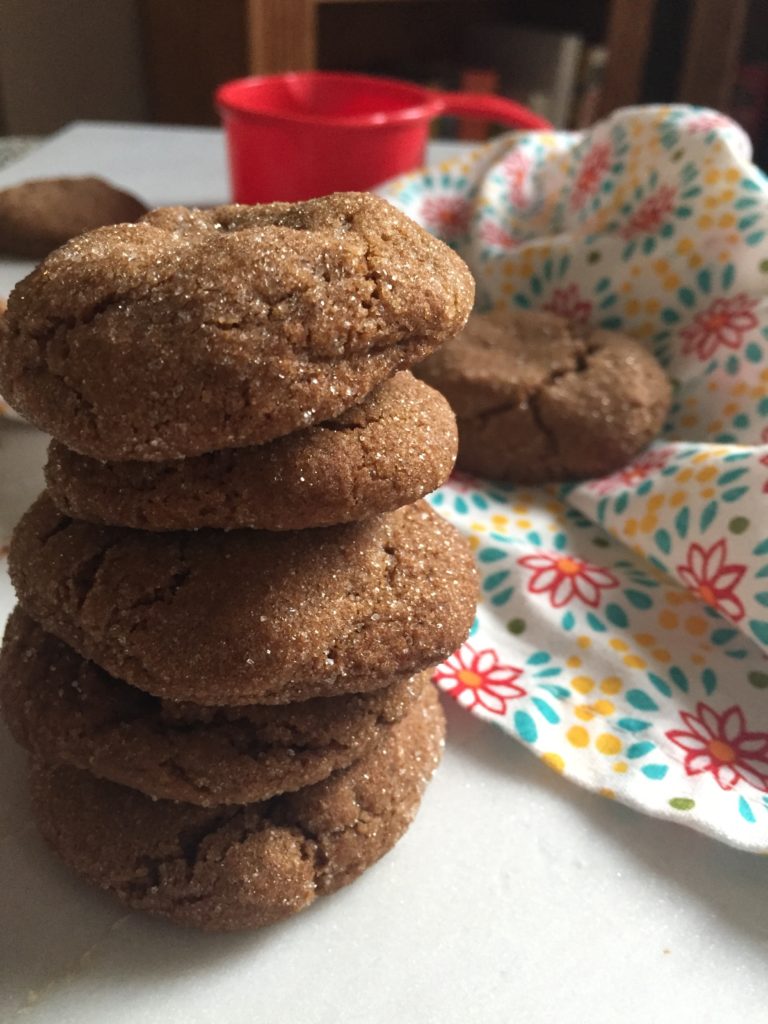
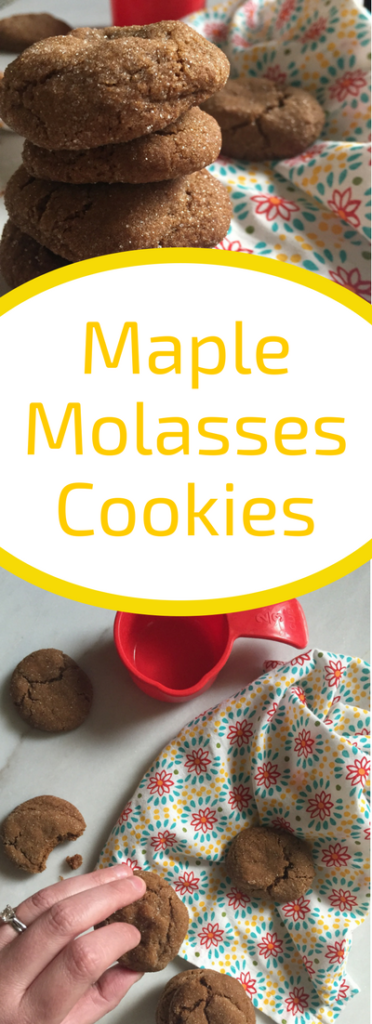
4. Maple Molasses Cookies
Recipe inspired by this one from the Food Network: https://www.foodnetwork.com/recipes/paula-deen/peanut-butter-parfaits-recipe-1952553
- 3 cups milk
- 1 tsp. espresso powder
- 5 oz box Chocolate Pudding, Cook and Serve style
- 8 oz Nutter Butter Bites
- 1½ c. heavy whipping cream
- 1 cup peanut butter, creamy
- 4 oz cream cheese, softened
- ¼ c. powdered sugar, plus two tablespoons
- Chocolate sprinkles and crushed Nutter Butters, for garnish
- Cook the pudding with the 3 cups milk and espresso powder according to package directions.
- Set aside to let cool, placing plastic wrap against surface of pudding to prevent skin from forming. Let cool completely.
- While the pudding is cooling, make the whipped cream. Beat the cream with an electric mixer until stiff peaks form.
- Sprinkle in the 2 tablespoons of powdered sugar and mix well. Reserve ¾ cup of the whipped cream for garnish.
- Place the remaining whipped cream in a large bowl and set aside.
- Next, make the peanut butter layer. Beat together the peanut butter, cream cheese, and powdered sugar until well incorporated and thick.
- Slowly fold in the reserved larger portion of whipped cream to the peanut butter mixture.
- Once the pudding is no longer warm, divide the pudding in two equal portions, setting one half aside.
- With the remaining half, fill the bottom of each of the six mini Mason jars equally with pudding.
- Press 4 Nutter Butter bites into the top of the pudding layer.
- Next divide the peanut butter mixture in two. Layer in one of the peanut butter mixture halves over the pudding layer.
- Repeat, forming another layer of pudding, Nutter Butter bites, and peanut butter mixture.
- To garnish, use the remaining whipped cream to frost a thin layer on top the pudding cups.
- Top the whipped cream with chocolate sprinkles and crushed Nutter Butters bites, or party picks of your choice.