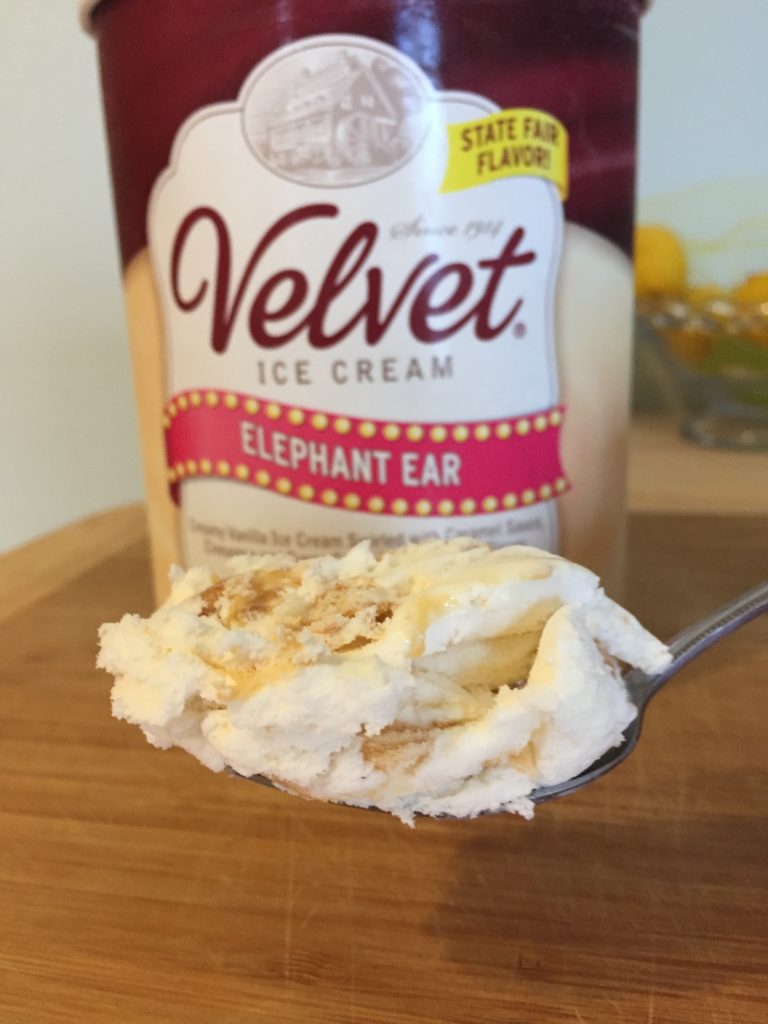
If you follow this blog at all, you know that I am obsessed with sweet and salty combos. Adding a little bit of salt to any dessert makes it better in my book, so I am excited to share this recipe with you. It is the ultimate indulgence consisting of pretzels, caramel, chocolate, and a lava flow of melty peanut butter in the center. It all comes together in the end, trust me! The whole thing is topped off with Velvet Elephant Ear ice cream (http://velveticecream.com/), and it will be everything you’ve ever wanted in life. The Elephant Ear ice cream was last year’s Ohio State Fair flavor, and is now available in stores. It has swirls of caramel and nuggets of real cinnamon sugary fried dough tucked inside. Brace yourself for the gooey sweet and salty explosion!
Sweet and Salty Cookie Skillets
Serves 2
Ingredients
6 tsp. softened butter
1/4 tsp. salt
1/2 c. brown sugar
1/4 cup granulated sugar
1 egg
1/2 tsp. vanilla
3/4 c. flour
1/4 tsp. baking soda
1/2 cup chocolate chunks
1/3 cup peanut butter
12 pretzels
2 scoops Velvet Elephant Ear Ice Cream
Caramel sauce for drizzling
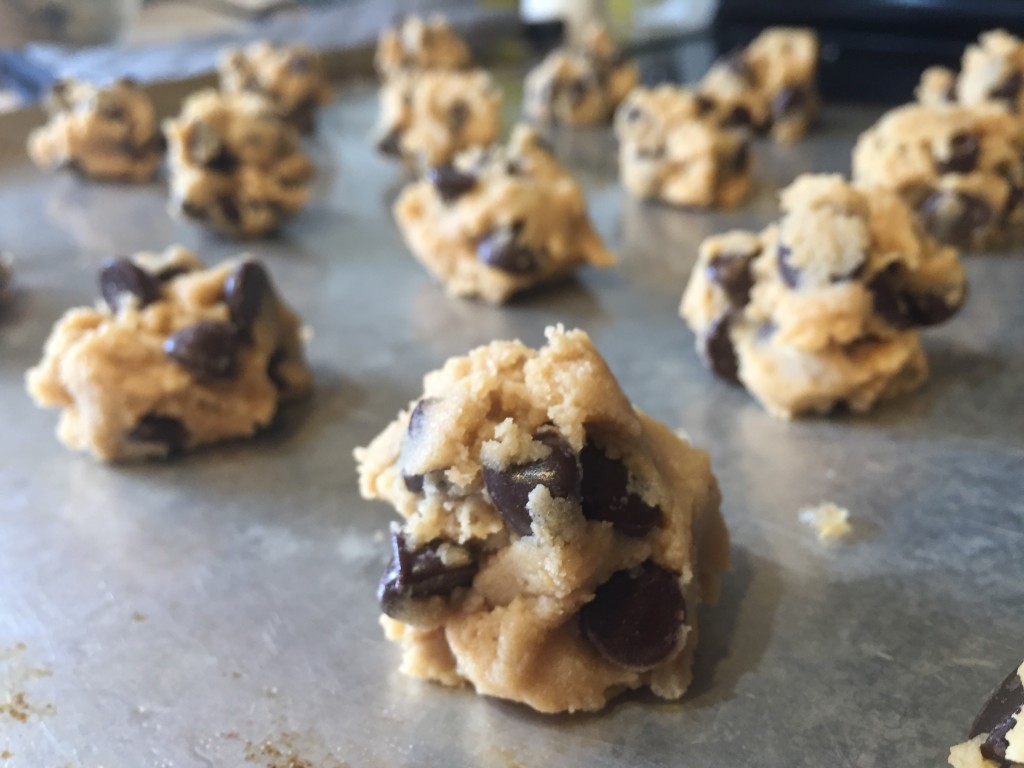
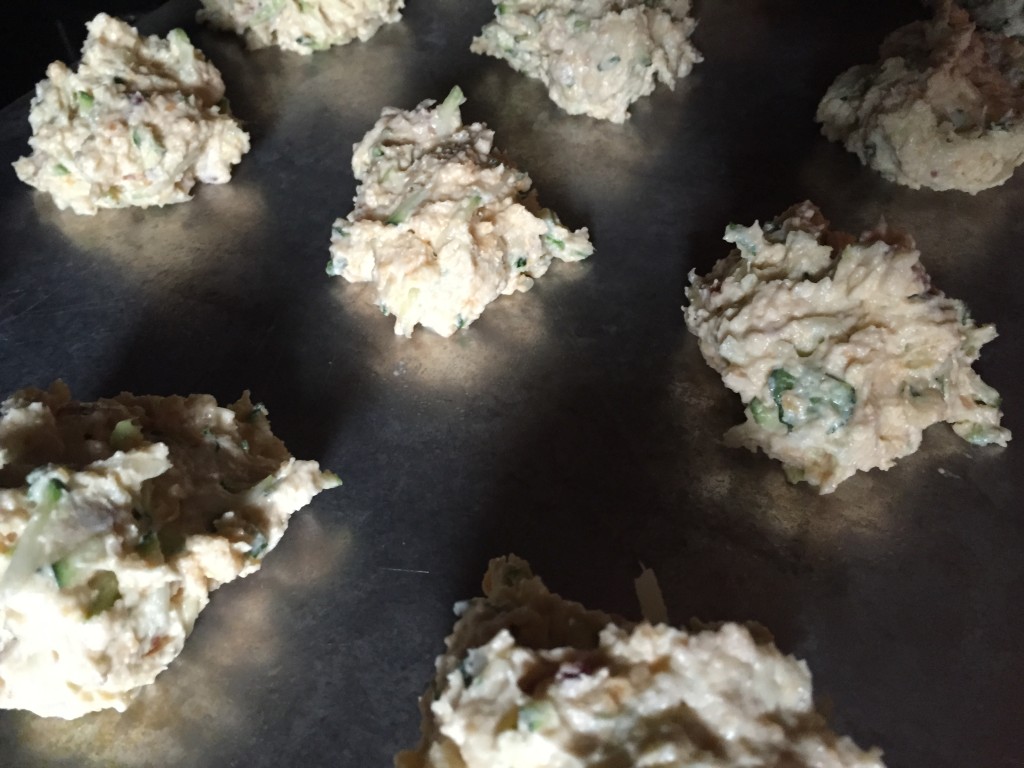
Start by dividing the peanut butter in half and placing a dollop in the middle of a cast iron skillet which has been lightly greased with cooking spray. In a large bowl, use a wooden spoon or rubber spatula to cream together the sugars, salt, and the butter. Add in vanilla and the egg. Slowly add in the flour and baking soda, mixing until incorporated. Fold in the chocolate chunks, then separate the dough into 2 equal portions. Spoon the dough over the peanut butter, covering it completely.
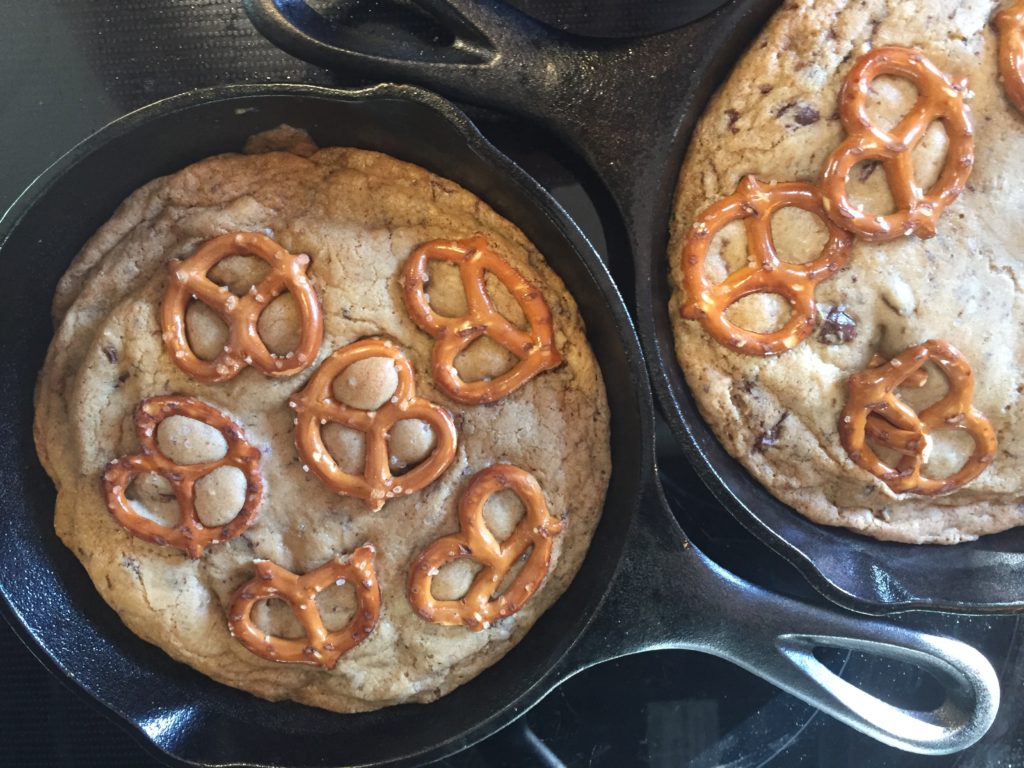
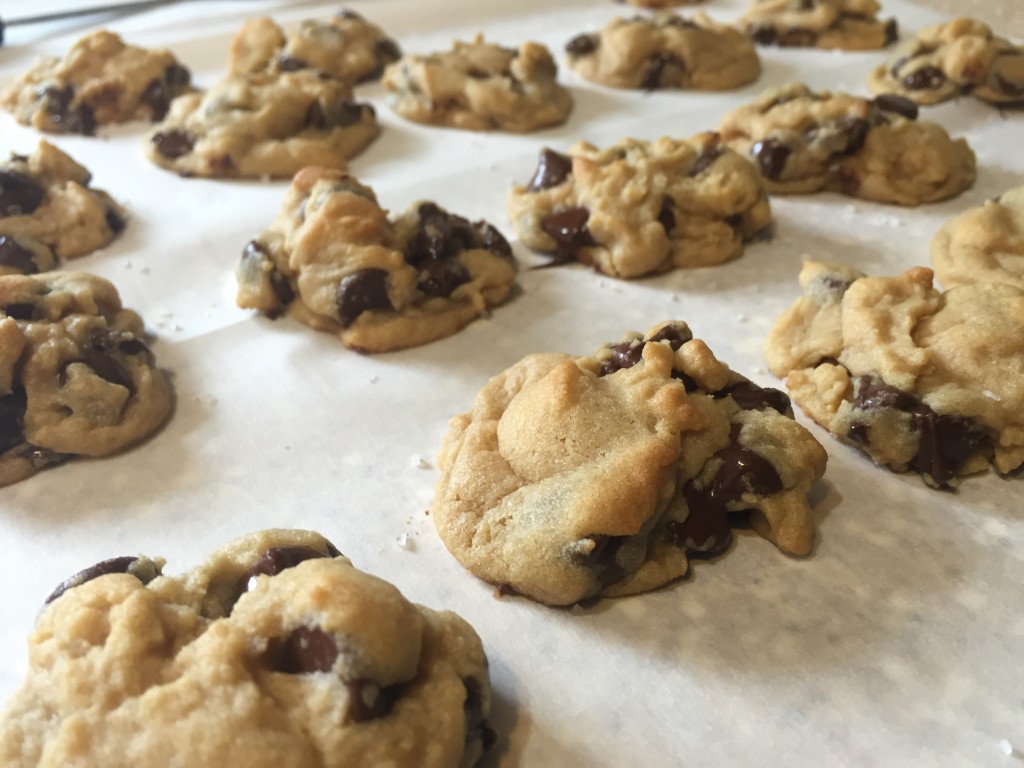
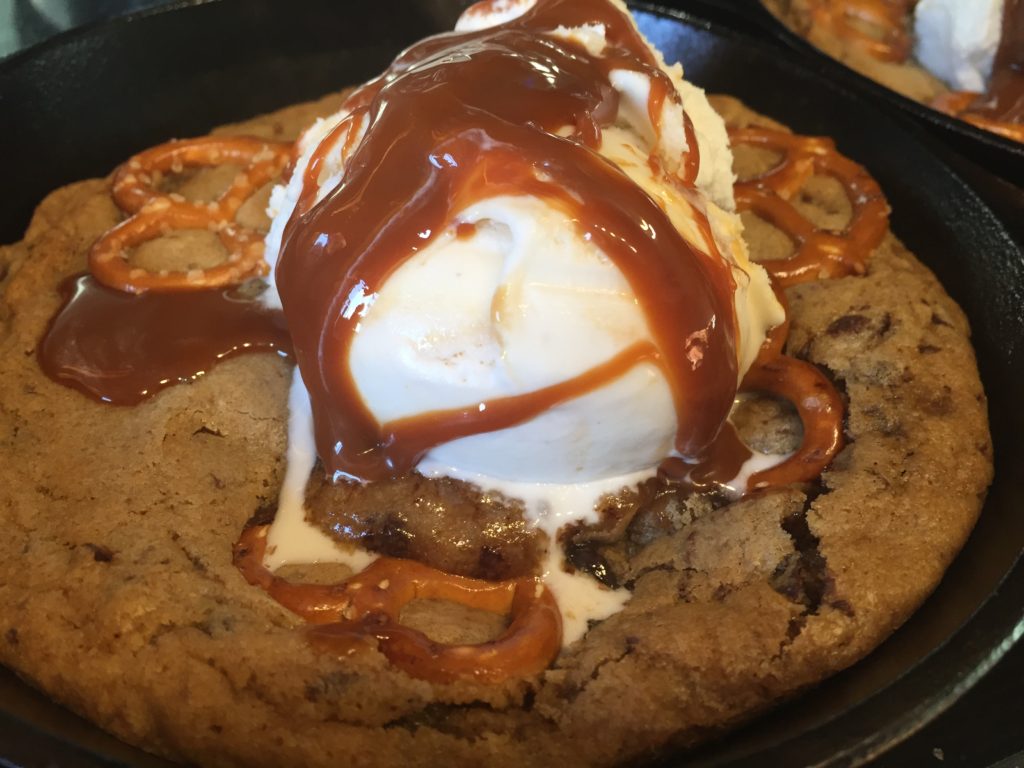
Atop the cookie dough, press 6 pretzels into each skillet. Bake the cookies in a 375° oven for 15 minutes, or until the cookie just starts to brown at the edges. Place a scoop of the ice cream on each of the warm cookie skillets, then drizzle some caramel sauce on each. Devour these treats right away, for maximum ooey-gooeyness and enjoy!
Keep Connected,
Caroline
- 6 tsp. softened butter
- ¼ tsp. salt
- ½ c. brown sugar
- ¼ cup granulated sugar
- 1 egg
- ½ tsp. vanilla
- ¾ c. flour
- ¼ tsp. baking soda
- ½ cup chocolate chunks
- ⅓ cup peanut butter
- 12 pretzels
- 2 scoops Velvet Elephant Ear Ice Cream
- Caramel sauce for drizzling
- Start by dividing the peanut butter in half and placing a dollop in the middle of a cast iron skillet which has been lightly greased with cooking spray.
- In a large bowl, use a wooden spoon or rubber spatula to cream together the sugars, salt, and the butter.
- Add in vanilla and the egg.
- Slowly add in the flour and baking soda, mixing until incorporated.
- Fold in the chocolate chunks, then separate the dough into 2 equal portions.
- Spoon the dough over the peanut butter, covering it completely.
- Atop the cookie dough, press 6 pretzels into each skillet.
- Bake the cookies in a 375° oven for 15 minutes, or until the cookie just starts to brown at the edges.
- Place a scoop of the ice cream on each of the warm cookie skillets, then drizzle some caramel sauce on each.